When evaluating Figma to code tools, marketing copy and feature lists only tell you so much. What developers actually want to see is the result: what does the output really look like, and how well does it match the original design?
So instead of explaining how EspritCode works in abstract terms, I converted a simple landing page from Figma to HTML using EspritCode, and I’m sharing the actual before and after. No filters, no edits — just the raw output.
The Figma Design
The source design is a simple landing page with four sections: Hero, Features, CTA, and Blog. It uses Figma’s Auto Layout throughout, which is important — Auto Layout is what makes systematic conversion possible.
Here’s the full Figma design:
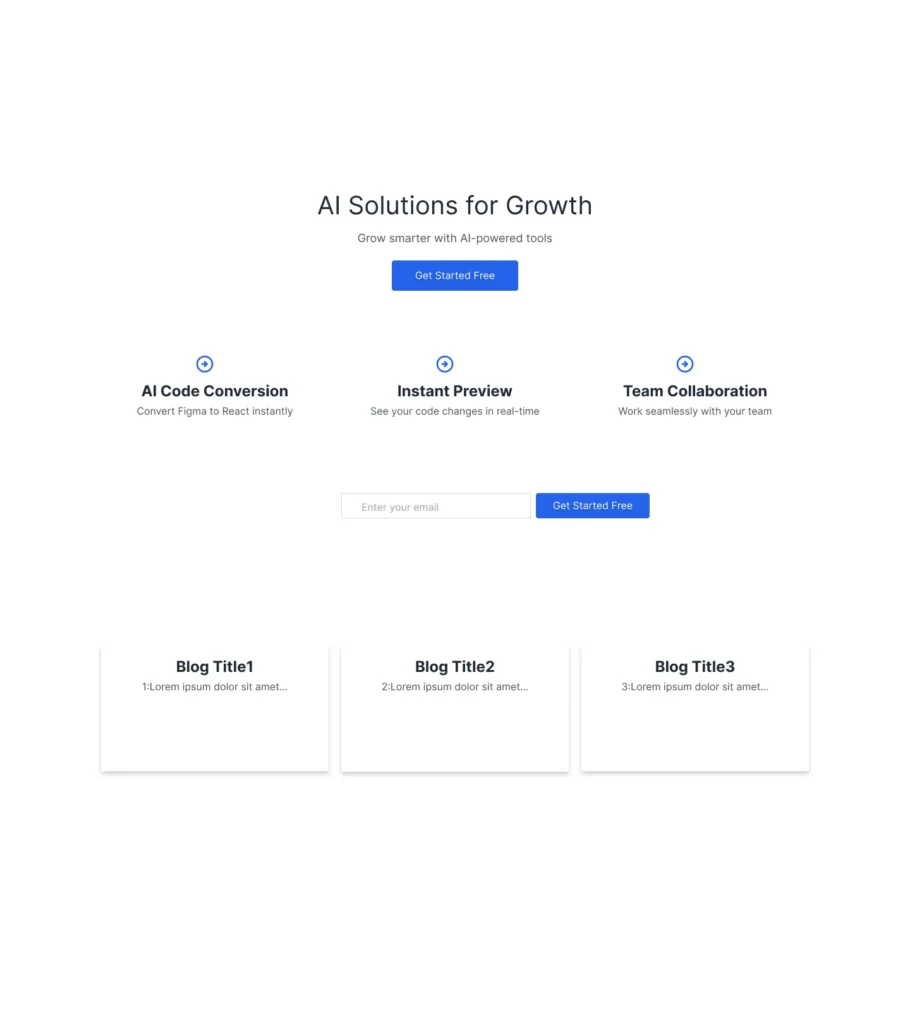
Nothing fancy — just a typical structure you’d find on most freelance landing page projects. The kind of design a client might hand off on a Monday morning.
The Conversion Process
The process itself is quick: paste the Figma URL into EspritCode, wait for the conversion to complete, and download the generated HTML and CSS. There’s no prompting, no iteration — just paste and convert.
The whole thing finished in well under a minute.
The Result
Here’s the converted HTML rendered in the browser:
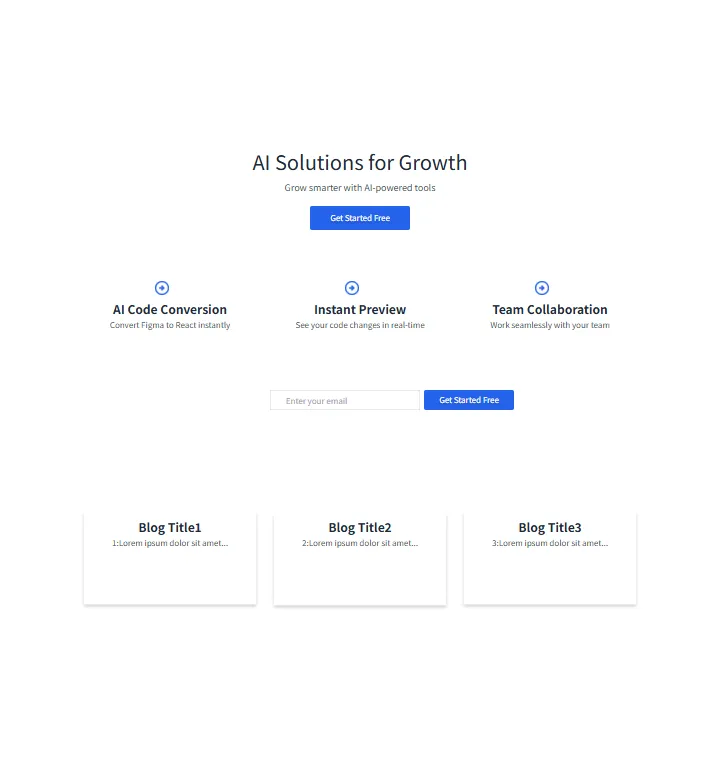
Compared with the original Figma design above, the layout structure, spacing, typography, and section organization match closely. Section boundaries are preserved, the Hero/Features/CTA/Blog flow stays intact, and the visual hierarchy carries over.
A Look at the Generated Code
Marketing claims aside, the actual code is what shows you what a tool really does. Here’s a snippet of how EspritCode structures the Hero section in this conversion:
<div class="figma-hero-desktop-2186-57">
  <div class="figma-CTA-Button-2055-17">
    <div class="figma-CTA-Button-2053-12">
      <p class="figma-hero-cta-text-I2053-12-2011-6">
        Get Started Free
      </p>
    </div>
  </div>
  <p class="figma-hero-subtext-2010-2">
    Grow smarter with AI-powered tools
  </p>
  <h1 class="figma-hero-h1-2007-6">
    AI Solutions for Growth
  </h1>
</div>
A few things worth noting about the output:
- Class names are derived from Figma layer names and IDs. The “figma-” prefix combined with the Figma layer name (like “hero-desktop”) and the internal Figma ID (like “2186-57”) makes class names traceable back to the source design. If you need to update a specific element, you can locate it in Figma by the ID.
- The structure uses div-based containers, not semantic tags like <section>. This is intentional for this kind of conversion: it preserves the exact Figma frame structure rather than imposing semantic interpretation. If you want semantic HTML for accessibility or SEO, that’s a manual refinement step after conversion.
- CSS uses absolute positioning with exact pixel coordinates. The CSS mirrors the Figma frame coordinates (left/top/width/height) directly, which keeps the visual output faithful to the design. Flexbox is used where Figma’s Auto Layout is enabled, like inside the CTA button.
This approach is a tradeoff: you get pixel-faithful output that matches the Figma frame exactly, but you trade off some flexibility for responsive behavior. For freelance landing page work where the design is fixed and the deliverable is a static page, that tradeoff often makes sense.
You can refactor the output afterward — rename classes, swap divs for semantic tags, restructure with Flexbox or Grid for responsiveness. But you start from a working baseline that visually matches the Figma file, which is often the most time-consuming part of front-end work.
What This Means for Freelance Work
For freelance landing page work, a few things stand out from this example:
- The output is a starting point, not a polished deliverable. You’ll still want to refine spacing, adjust responsiveness for edge cases, and add any animations or interactions the client expects. But you start from working HTML, not from scratch.
- Class names are stable across conversions. If the client requests a revision and you re-convert the updated Figma, the structure stays consistent. That makes revisions easier to manage.
- The code is handoff-friendly. Another developer can pick this up and understand it. No proprietary syntax, no obscure naming conventions — just clean HTML and CSS.
The honest take: this isn’t a magic “Figma in, finished website out” experience. It’s more like “Figma in, structured HTML out” — which is exactly what most freelance landing page workflows actually need.
Try It Yourself
The best way to evaluate any Figma to code tool is to convert one of your own designs and look at the result. EspritCode’s Free plan includes 3 conversions per month with no credit card required — enough to test it against a real project.
If you’re a freelancer shipping client landing pages and you’re tired of writing the same boilerplate HTML over and over, it’s worth seeing how much of that work a deterministic converter can handle for you.